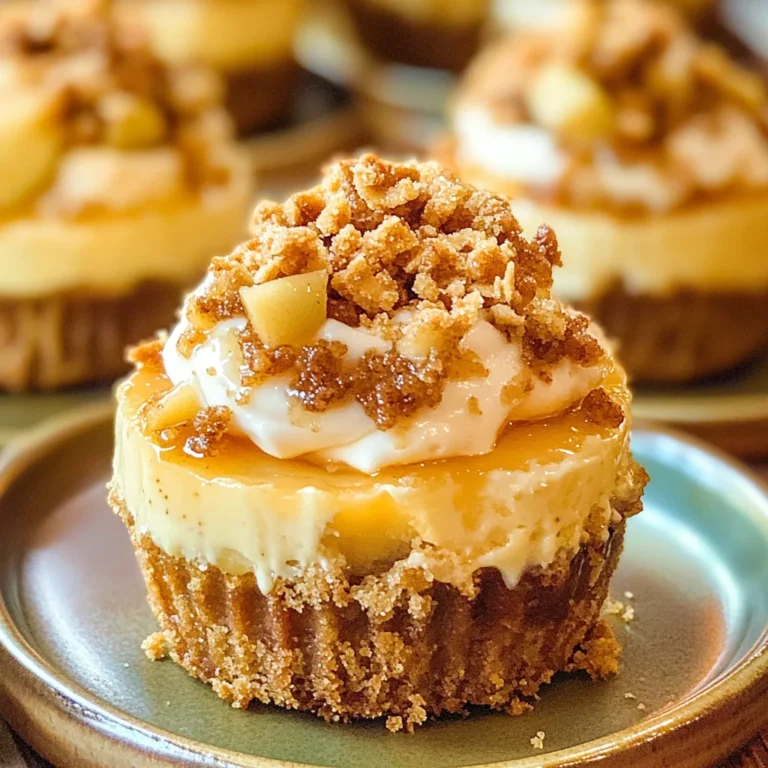
Homemade Apple Pie Filling
If you’re looking for a cozy dessert that brings warmth to your home, you’re in the right place! This Homemade Apple Pie Filling is truly the only recipe you’ll ever need. It’s a family favorite that can be used in so many delightful ways, whether it’s for a classic apple pie, as a topping for pancakes, or even stirred into oatmeal. The sweet aroma of simmering apples fills the kitchen, making it perfect for busy weeknights or festive family gatherings. Plus, who can resist the comforting taste of homemade goodness?
In just a few simple steps, you’ll create a filling that’s bursting with flavor and nostalgia. So roll up your sleeves, and let’s get started on this delicious journey!
Why You’ll Love This Recipe
- Easy to Prepare: With just a few basic ingredients and straightforward steps, this recipe is perfect for any skill level.
- Family-Friendly Appeal: Everyone loves the sweet and spiced flavor of apple pie filling, making it a hit with kids and adults alike!
- Make-Ahead Convenience: You can prepare this filling in advance and store it in the fridge or freezer for those last-minute dessert cravings.
- Versatile Use: From pies to pastries, ice cream toppings to breakfast delights, this filling works wonderfully in various dishes.
Ingredients You’ll Need
To make this delightful Homemade Apple Pie Filling, you’ll want to gather some simple and wholesome ingredients. These are all easy to find and contribute to the deliciousness of the final product!
- 9 cups fresh apples, peeled, cored, and chopped into uniform sizes
- 2 tablespoons lemon juice
- 3 cups white sugar
- 2 tablespoons brown sugar
- 1/2 cup cornstarch
- 1 teaspoon ground cinnamon
- 1/2 teaspoon ground nutmeg
- 1/2 teaspoon coarse sea salt
Variations
This recipe is quite flexible and allows you to get creative! Here are some fun variations to consider:
- Add More Spice: Try incorporating other spices like ginger or allspice for an extra kick of flavor.
- Mix Up the Sweeteners: Swap out some of the white sugar with maple syrup or honey for a more natural sweetness.
- Use Different Apples: Experiment with different apple varieties like Granny Smith or Honeycrisp for varying levels of tartness and sweetness.
- Incorporate Dried Fruits: Toss in some raisins or cranberries while cooking for added texture and flavor.
How to Make Homemade Apple Pie Filling
Step 1: Prepare the Apples
In a large bowl, toss together your peeled, cored, and chopped fresh apples with lemon juice. This step is essential because it prevents the apples from browning too quickly. Plus, that zesty lemon adds a lovely brightness that balances out the sweetness!
Step 2: Make the Sauce
In a large Dutch oven or saucepan, mix together white sugar, brown sugar, cornstarch, cinnamon, nutmeg, and coarse sea salt. Pour in 4 cups of water and bring everything to a low simmer. Stirring helps dissolve the sugars completely while creating a nice base for your filling.
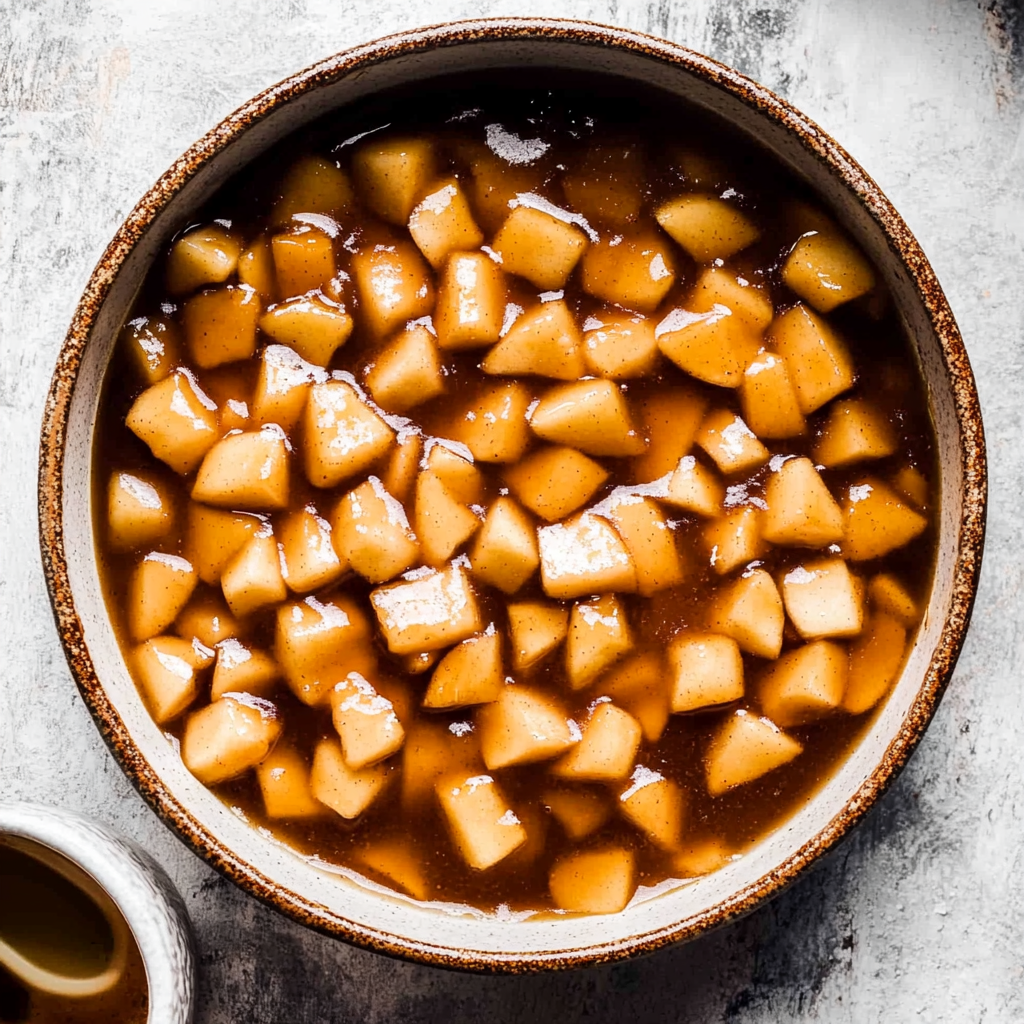
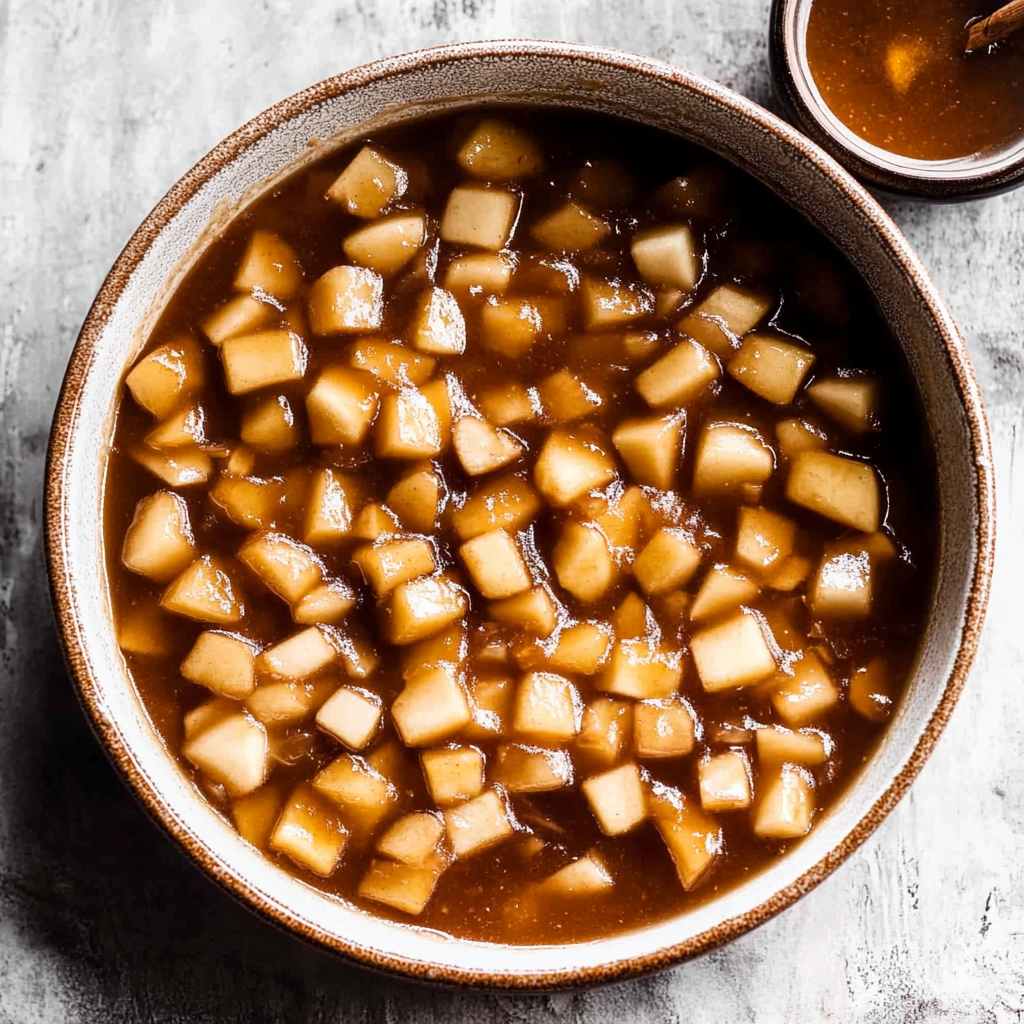
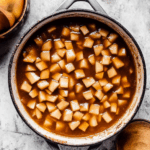
Step 3: Cook the Apples
Carefully stir in your prepared apples into the simmering sauce. Cover and cook for about 6-10 minutes. The cooking time will depend on how small you’ve chopped your apples; smaller pieces will soften quicker. The goal here is for them to be tender enough to pierce easily with a fork while allowing the sauce to thicken beautifully.
Step 4: Cool Down
Once cooked to perfection, remove your pot from heat and allow everything to cool down. This step is crucial if you’re planning on canning or freezing your apple pie filling. Letting it cool allows flavors to meld and ensures safety if storing away.
Step 5: Store or Use
After cooling down completely, you can use your Homemade Apple Pie Filling right away in any dessert you desire! Alternatively, feel free to can or freeze it for later use—this makes future baking endeavors super easy!
I can’t wait for you to try this recipe! If you’ve made this Homemade Apple Pie Filling before or give it a go now, please come back and share how it turned out in the comments below! Happy baking!
Pro Tips for Making Homemade Apple Pie Filling
Creating the perfect apple pie filling is all about technique and a little love. Here are some pro tips to help you achieve that delicious filling every time!
- Choose the right apples: Opt for a mix of sweet and tart apples, like Granny Smith and Honeycrisp. This combination adds depth of flavor and ensures your filling is well-balanced.
- Uniform chopping: Cut your apples into even sizes to ensure they cook evenly. This prevents some pieces from becoming mushy while others remain crunchy.
- Taste as you go: If you find the mixture too sweet or tart, feel free to adjust the sugar or lemon juice to suit your preferences. This ensures your filling is tailored just for you!
- Let it cool completely: Allowing the filling to cool before using it in your pies prevents a soggy crust. It also helps the flavors meld together beautifully.
- Batch it up: Consider making extra filling to freeze for later use. Simply store in airtight containers, and you’ll have delicious homemade filling ready whenever you need it!
How to Serve Homemade Apple Pie Filling
Now that you’ve mastered this delightful homemade apple pie filling, let’s explore some creative ways to serve it!
Garnishes
- Whipped coconut cream: This dairy-free alternative adds a luscious, creamy touch that complements the apple flavor perfectly.
- Cinnamon sprinkle: A light dusting of ground cinnamon on top enhances the warm spices in your pie filling, making each bite even more inviting.
Side Dishes
- Vanilla ice cream: The classic pairing! The cold creaminess of vanilla ice cream contrasts beautifully with warm apple pie, creating a comforting dessert experience.
- Oatmeal crumble: Serve your apple filling over oatmeal topped with nuts for a hearty breakfast option that’s both nutritious and satisfying.
- Cheese platter: Pair slices of sharp cheddar or brie alongside your apple pie for a sweet-savory combination that balances flavors wonderfully.
- Caramel sauce: Drizzling warm caramel sauce over your dessert adds an indulgent touch that takes your homemade apple pie filling to the next level.
With these tips and serving suggestions, you’re all set to enjoy or share this delightful homemade apple pie filling! Whether you’re baking a pie or simply enjoying it on its own, this recipe will surely become a favorite in your kitchen. Happy baking!
Make Ahead and Storage
One of the best things about this Homemade Apple Pie Filling is how perfect it is for meal prep! You can whip up a big batch ahead of time, making it a breeze to use whenever you need a delicious apple pie filling for your desserts. Here’s how to store it effectively:
Storing Leftovers
- Store any leftover filling in an airtight container in the refrigerator.
- It will keep well for up to a week.
- Make sure to let it cool completely before sealing to prevent condensation.
Freezing
- To freeze, portion the filling into freezer-safe bags or containers.
- Label with the date and contents for easy identification.
- It can be frozen for up to 6 months. When ready to use, simply thaw in the refrigerator overnight.
Reheating
- For reheating, place the desired amount in a saucepan over low heat.
- Stir occasionally until warmed through. You can also microwave it in short intervals, stirring in between.
- If it’s too thick after freezing, add a splash of water to loosen it up!
FAQs
Here are some common questions about Homemade Apple Pie Filling that you might find helpful.
Can I use other types of apples for Homemade Apple Pie Filling?
Absolutely! While tart apples like Granny Smith are popular for their balance of sweetness and acidity, feel free to mix different varieties based on your preference. Just ensure they hold their shape when cooked.
How do I make Homemade Apple Pie Filling thicker?
If you prefer a thicker filling, you can increase the amount of cornstarch slightly or add more apples during cooking. Just keep an eye on the consistency as it cooks!
Can I can my Homemade Apple Pie Filling?
Yes! This recipe is excellent for canning. Make sure to follow safe canning procedures and process your jars in a boiling water bath for preservation.
What can I use Homemade Apple Pie Filling for besides pie?
This versatile filling works wonderfully as a topping for waffles, pancakes, or oatmeal. You can even swirl it into yogurt or serve over vanilla ice cream!
How long does Homemade Apple Pie Filling last in the freezer?
When properly stored, your Homemade Apple Pie Filling can last up to 6 months in the freezer without sacrificing quality.
Final Thoughts
This Homemade Apple Pie Filling truly is a special recipe that brings warmth and comfort into your kitchen. It’s perfect not just for pies but also adds delightful flavor to many desserts and breakfast dishes alike! I hope you enjoy making this recipe as much as I do—there’s nothing quite like the aroma of spiced apples filling your home. If you try it out, please come back and share your experience; I’d love to hear how it turned out!
Homemade Apple Pie Filling
If you’re craving a comforting dessert that fills your home with the delightful aroma of baked apples, look no further than this Homemade Apple Pie Filling. This versatile recipe is perfect for creating classic apple pies, topping pancakes, or adding a sweet twist to your morning oatmeal. With just a handful of straightforward ingredients and easy-to-follow steps, this filling bursts with flavor and nostalgia. Whether it’s a busy weeknight or a festive family gathering, this homemade goodness will surely be a hit!
- Prep Time: 15 minutes
- Cook Time: 10 minutes
- Total Time: 25 minutes
- Yield: About 8 servings 1x
- Category: Dessert
- Method: Cooking
- Cuisine: American
Ingredients
- 9 cups fresh apples, peeled, cored, and chopped
- 2 tablespoons lemon juice
- 3 cups white sugar
- 2 tablespoons brown sugar
- 1/2 cup cornstarch
- 1 teaspoon ground cinnamon
- 1/2 teaspoon ground nutmeg
- 1/2 teaspoon coarse sea salt
Instructions
- Prepare the Apples: In a large bowl, toss chopped apples with lemon juice to prevent browning and enhance flavor.
- Make the Sauce: In a Dutch oven or saucepan, combine white sugar, brown sugar, cornstarch, cinnamon, nutmeg, and sea salt. Add 4 cups of water and bring to a low simmer while stirring until sugars dissolve.
- Cook the Apples: Stir in prepared apples and cover. Cook for about 6-10 minutes until tender but not mushy.
- Cool Down: Remove from heat and allow filling to cool completely before using or storing.
- Store or Use: Use immediately or store in an airtight container in the fridge or freeze for later.
Nutrition
- Serving Size: 1/2 cup (120g)
- Calories: 180
- Sugar: 37g
- Sodium: 60mg
- Fat: 0g
- Saturated Fat: 0g
- Unsaturated Fat: 0g
- Trans Fat: 0g
- Carbohydrates: 46g
- Fiber: 3g
- Protein: <1g
- Cholesterol: 0mg