Twix Cookie Cups: Sweet and Gooey Delight Awaits!
Sweet, Indulgent, and Irresistibly Fun
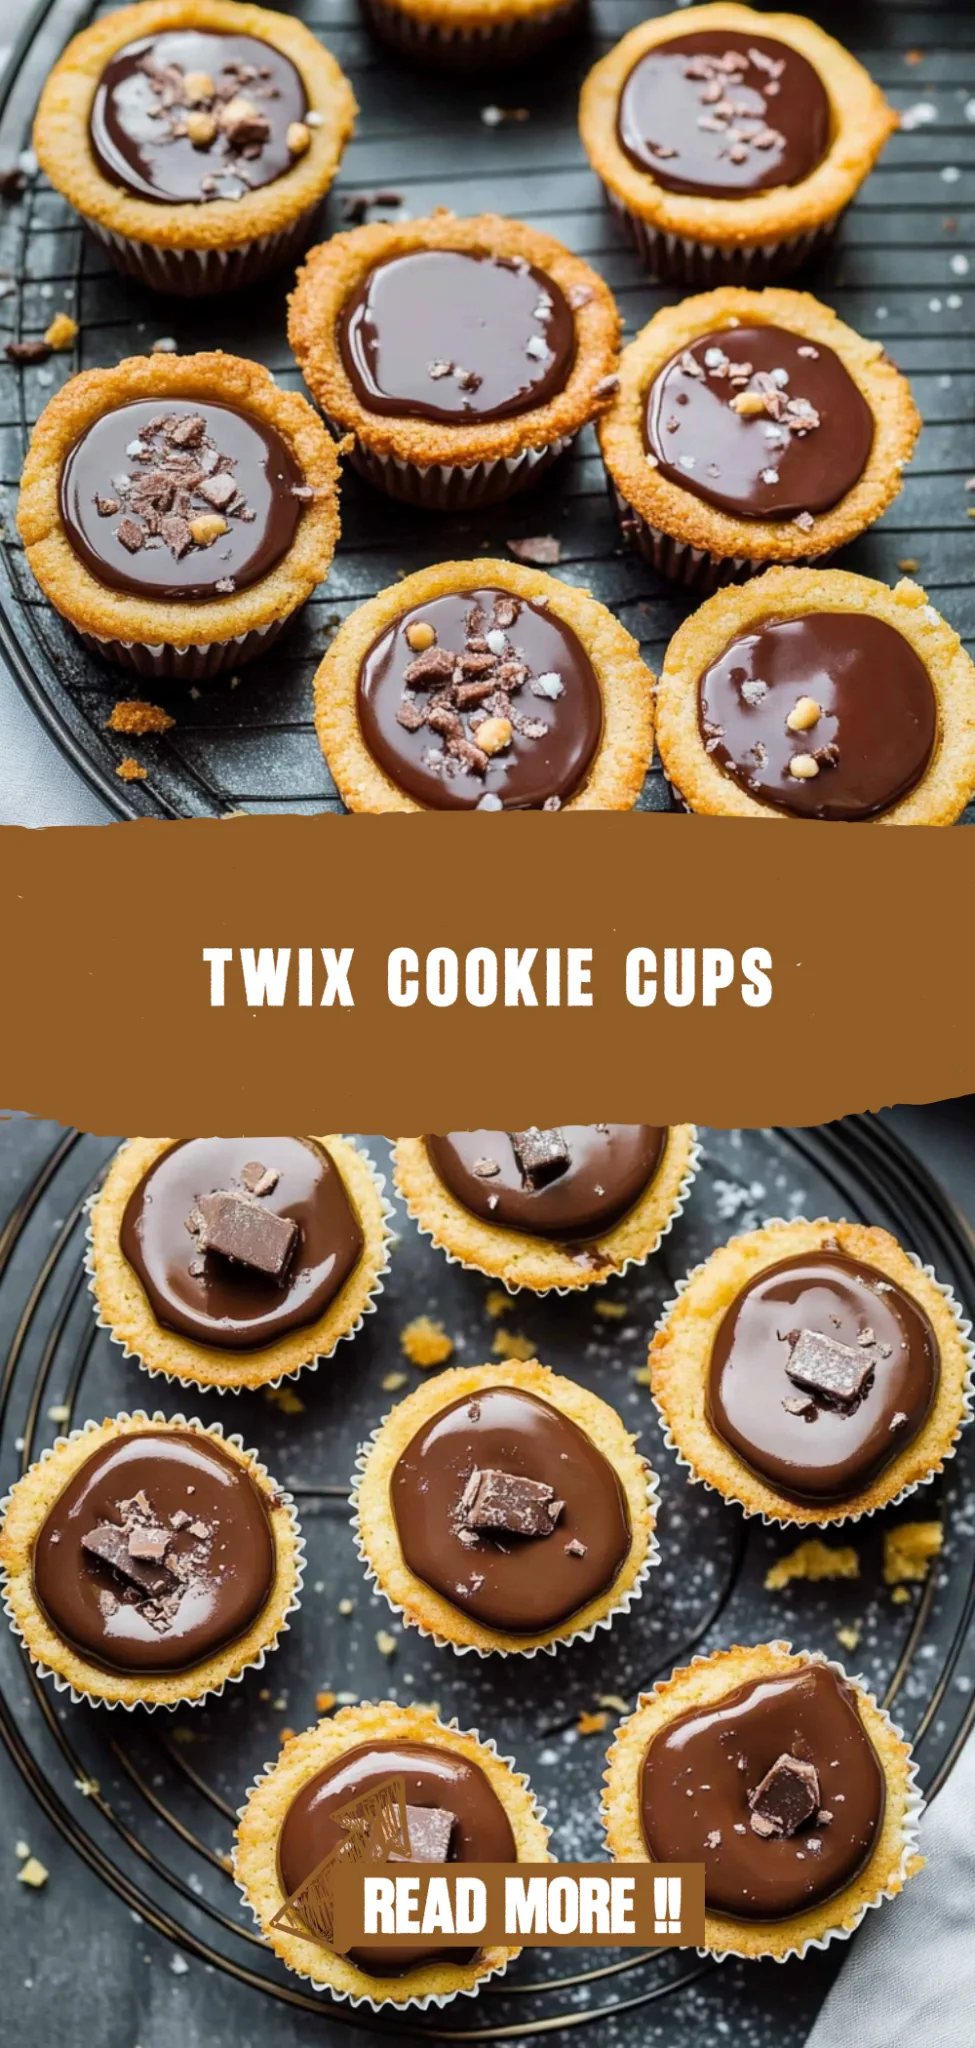
I first whipped up these Twix Cookie Cups during a cozy rainy afternoon, craving something sweet that would brighten the day. The moment I pulled them from the oven, the warm aroma of buttery cookies mingled with caramel filled my kitchen, and I couldn’t resist sneaking a taste. With their crunchy edges and soft, gooey centers, these little treats are as delightful to make as they are to eat.
What makes these cookie cups truly special is the joyful reaction they provoke—everyone’s eyes light up at the sight of those decadent layers of cookie, caramel, and chocolate. They’re perfect for any occasion, whether it’s a comforting family dinner or an intimate date night in. Just imagine sharing these delights with loved ones; it’s bound to create lasting memories.
For an extra touch of indulgence, consider serving your Twix Cookie Cups with a scoop of vanilla ice cream or drizzling on some extra melted chocolate. You can even sprinkle a little sea salt on top for that perfect sweet-and-salty contrast. Trust me, once you take that first bite, you’ll be hooked and ready to whip up another batch soon!
What are Twix Cookie Cups?
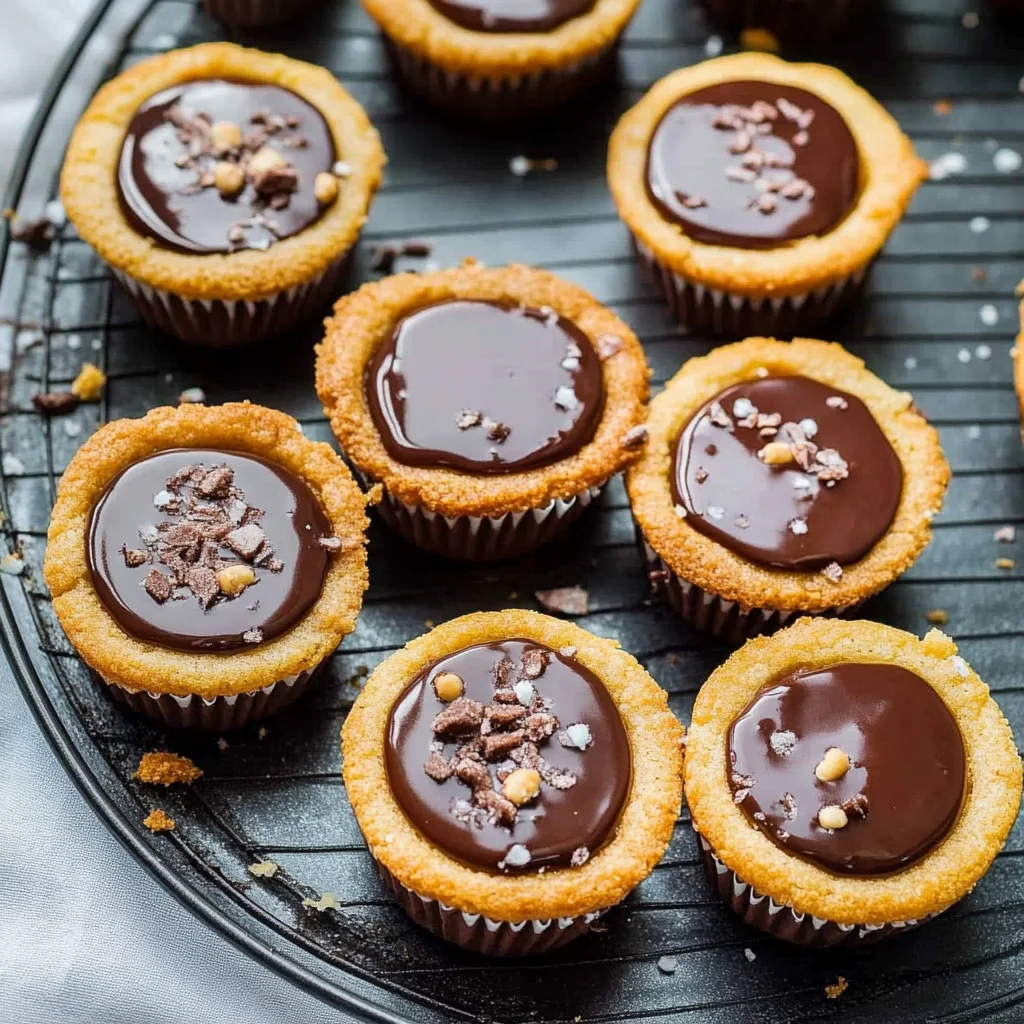
Twix Cookie Cups are delightful bite-sized desserts that combine the best elements of cookies and candy bars, offering a unique twist on a classic favorite. These sweet treats feature a buttery cookie base made with all-purpose flour, softened unsalted butter, granulated and brown sugars, and a hint of vanilla extract, creating a tender yet slightly crispy exterior. Filled with gooey caramel sauce and optionally topped with chopped peanuts, they are finished off with melted chocolate chips for an indulgent topping. Baked in muffin tins for easy serving and minimal cleanup, Twix Cookie Cups are not only delicious but also simple to prepare, making them a perfect choice for any occasion.
Perfect For:
Sweet Tooth Cravings: These Twix Cookie Cups are the ultimate indulgence for anyone craving something sweet and satisfying, combining cookie, caramel, and chocolate in every bite.
Family Movie Nights: Whip up a batch of these delightful cookie cups for a cozy movie night at home; they’re easy to share and will keep everyone happily munching throughout the film.
Bake Sales and Treats for Friends: Impress your friends or coworkers with these unique treats at bake sales or gatherings; their charming presentation and delicious flavor make them an instant hit.
Celebrating Special Moments: Whether it’s a birthday or an anniversary, these cookie cups provide a fun and whimsical dessert that looks impressive yet is surprisingly simple to make.
Twix Cookie Cups Ingredients
For the Cookie Base
- 1 cup all-purpose flour – This forms the foundation of your cookie cups, giving them a delightful texture.
- 1/2 cup unsalted butter (softened) – Softened butter creates a rich flavor and ensures a tender crumb in your cookie base.
- 1/4 cup granulated sugar – Adds sweetness and helps create a light, fluffy texture when creamed with butter.
- 1/4 cup brown sugar (packed) – The molasses in brown sugar provides moisture and a deeper flavor profile to your cookies.
- 1 large egg – Binds the ingredients together and contributes to the overall richness of the cookie base.
- 1/2 teaspoon vanilla extract – Enhances the overall flavor, making your Twix Cookie Cups taste even more delicious.
- 1/2 teaspoon baking soda – Acts as a leavening agent, helping your cookie cups rise perfectly in the oven.
- 1/4 teaspoon salt – Balances the sweetness and enhances all the flavors in your cookie base.
For the Filling
- 1/2 cup caramel sauce (store-bought or homemade) – Provides that signature gooey layer reminiscent of Twix bars; choose your favorite for convenience!
- 1/4 cup chopped peanuts (optional) – Adds a delightful crunch and nutty flavor if you’re looking for that authentic Twix experience.
For the Topping
- 1/2 cup chocolate chips – Melts beautifully on top, creating a rich chocolate layer that complements the caramel filling perfectly.
- 1 tablespoon vegetable oil – Helps to smooth out melted chocolate, ensuring it spreads easily over your cookie cups.
Kitchen Equipment You’ll Need
- Mixing bowls
- Measuring cups
- Measuring spoons
- Whisk
- Muffin tin
- Spoon
How to Make Twix Cookie Cups
Step 1:
Preheat your oven to 350°F (175°C) to get it nice and hot for baking. This is an important step to ensure your cookie cups bake evenly and come out perfectly golden.
Step 2:
In a mixing bowl, cream together the softened butter, granulated sugar, and brown sugar until the mixture is smooth and fluffy. This should take about 2-3 minutes of mixing, so don’t rush it—this step is key for the right texture!
Step 3:
Next, add in the large egg and vanilla extract, mixing until everything is fully incorporated. You’ll want a creamy consistency where the egg blends seamlessly with the butter and sugars.
Step 4:
In a separate bowl, whisk together the all-purpose flour, baking soda, and salt. This helps to evenly distribute the leavening agent and ensures that your cookies rise beautifully.
Step 5:
Gradually add the dry ingredients to your wet mixture while mixing until just combined. Be careful not to overmix; you want to keep that tender texture that makes these cookie cups so delightful.
Step 6:
Now it’s time to scoop! Take your cookie dough and fill each cup of a greased muffin tin about halfway. This will give them room to spread and create those lovely little cups we’re aiming for.
Step 7:
Bake in your preheated oven for 10-12 minutes, or until the edges are lightly golden brown. You’ll know they’re ready when you start smelling that delicious cookie aroma wafting through your kitchen!
Step 8:
Once baked, remove the muffin tin from the oven and let it cool for about 5 minutes. This brief cooling period allows them to firm up just enough for easier handling.
Step 9:
Using the back of a spoon, gently press down in the center of each cookie to create a cup shape. Be careful not to press too hard; you want them to hold their form but still have enough depth for filling later.
Step 10:
Fill each cookie cup generously with caramel sauce and sprinkle with chopped peanuts if you’re using them. The combination of sweet caramel and crunchy nuts adds that signature Twix flavor!
Step 11:
In a microwave-safe bowl, combine the chocolate chips and vegetable oil. Microwave in 30-second intervals, stirring after each one until smooth. This will give you a silky chocolate drizzle that’s perfect for topping your treats.
Step 12:
Drizzle the melted chocolate over each filled cookie cup, letting it cascade down for an irresistible look. Don’t be shy—make sure each one gets its fair share of that rich chocolate goodness!
Step 13:
Finally, allow your Twix Cookie Cups to cool completely before serving. This gives everything a chance to set nicely so you can enjoy every delicious bite without any mess!
- Use room temperature butter: Softened butter blends more easily with sugars, resulting in a smoother cookie dough that bakes evenly and has a soft texture.
- Don’t overmix the dough: Mixing just until combined helps prevent gluten formation, which can make your cookie cups tough. A tender crumb is key for that melt-in-your-mouth experience.
- Check for doneness carefully: Keep an eye on the cookie cups as they bake; they should be lightly golden around the edges. Overbaking can lead to dry cookies, while underbaking may prevent them from holding their shape.
- Let them cool before pressing: Allow the cookie cups to cool for a few minutes before pressing down the centers. This helps maintain their structure and prevents them from collapsing when you create the cup shape.
- Warm the caramel sauce slightly: If using store-bought caramel, warming it just until pourable makes it easier to fill the cookie cups without overflowing or making a mess.
- Experiment with toppings: While chocolate and peanuts are classic choices, feel free to get creative! Adding sea salt or crushed pretzels can enhance flavor and provide a delightful crunch.
Optional Ingredients
- Sea salt flakes: A sprinkle of flaky sea salt on top of your cookie cups adds a delightful contrast to the sweetness, enhancing all the flavors beautifully. Just a pinch will do!
- Coconut flakes: Toasted coconut flakes lend a tropical flavor and chewy texture that pairs wonderfully with the caramel and chocolate. Simply sprinkle them on top after drizzling the chocolate.
- Crushed red pepper flakes: For an unexpected kick, adding a pinch of crushed red pepper flakes provides a spicy contrast that elevates the overall taste profile. Mix it into the chocolate before topping your cookie cups.
- Orange zest: Fresh orange zest introduces a bright citrus note that complements the richness of the caramel and chocolate. Grate some directly over your finished cookie cups for a pop of flavor.
- Peanut butter drizzle: A creamy peanut butter drizzle adds richness and a nutty element that echoes the chopped peanuts in your filling. Melt some peanut butter and drizzle it over the chocolate topping for an indulgent finish.
What to Pair with Twix Cookie Cups?
To create a delightful contrast to the sweetness of Twix Cookie Cups, consider serving a fresh arugula salad with a tangy vinaigrette. The peppery notes of arugula alongside the acidity from the dressing will balance the rich caramel and chocolate flavors beautifully. Adding thinly sliced apples or pears can enhance the dish with a crisp texture and additional sweetness that complements without overwhelming.
For a comforting side, creamy mashed potatoes infused with garlic make an excellent companion. The buttery, smooth texture of the potatoes contrasts nicely with the crunchy cookie cups, while the savory flavor profile provides a satisfying counterpoint to the dessert’s sugary elements. This combination creates a rounded meal experience that feels both indulgent and hearty.
When it comes to drinks, a light sparkling wine or Prosecco pairs wonderfully with these sweet treats. The bubbles cut through the richness of the cookie cups, cleansing your palate between bites and enhancing each taste sensation. Alternatively, a rich cup of coffee or espresso can provide a warm finish to your meal, echoing the chocolate notes and adding depth to the overall dining experience.
Variations and Substitutions
Gluten-free flour blend: Substitute all-purpose flour with a 1:1 gluten-free flour blend to create a deliciously chewy cookie cup that everyone can enjoy, regardless of dietary restrictions. This swap maintains the structure while ensuring a delightful flavor.
Coconut oil instead of butter: For a dairy-free option, replace unsalted butter with an equal amount of melted coconut oil. This swap adds a subtle coconut flavor and results in an extra moist cookie cup that is both rich and satisfying.
Maple syrup for sugars: Use 1/4 cup of pure maple syrup in place of the granulated and brown sugars for a natural sweetness. This variation will impart a lovely caramel-like flavor and a hint of earthiness that pairs beautifully with the caramel filling.
Nut butter filling: Swap out the caramel sauce for your favorite nut butter, such as almond or cashew butter, to give these cookie cups a protein-packed twist. The creamy texture and nutty taste will create a delectable alternative that’s perfect for nut lovers.
Chocolate-covered pretzel topping: Instead of using chocolate chips, top your cookie cups with crushed chocolate-covered pretzels for an added crunch and sweet-salty flavor combination. This change gives the cookie cups a unique texture and enhances the overall indulgence.
Spiced cookie base: Add 1/2 teaspoon of cinnamon or pumpkin spice to the dry ingredients for a warm, aromatic twist on the classic cookie base. This variation creates an inviting flavor profile, making these treats perfect for fall gatherings or cozy evenings at home.
Refrigerate your Twix Cookie Cups in an airtight container to keep them fresh. Allow the cookie cups to cool completely before transferring them, as this prevents moisture buildup. They can be stored in the fridge for up to a week. When you’re ready to enjoy them, simply reheat in the microwave for about 10-15 seconds to restore their softness, but be careful not to overheat and melt the chocolate topping.
These cookie cups freeze well, though the texture may slightly change after thawing. To freeze, place them in a single layer in a freezer-safe container or wrap each one individually in plastic wrap, then store them in a resealable freezer bag. They will keep for about three months in the freezer. When you’re ready to eat them, thaw overnight in the refrigerator and reheat gently in the microwave or oven to bring back their delightful flavor and texture.
FAQ
Can I use a different type of flour for the cookie base?
Yes, you can substitute all-purpose flour with a gluten-free flour blend if you’re looking for a gluten-free option. Just ensure that the blend is suitable for baking, as it may affect the texture slightly.
What can I use instead of unsalted butter in this recipe?
If you don’t have unsalted butter, you can use salted butter by simply reducing the added salt to 1/8 teaspoon. Alternatively, coconut oil or a plant-based butter substitute will also work well.
How long should I bake the cookie cups?
Bake the cookie cups for 10-12 minutes, or until the edges are lightly golden. Keep an eye on them to avoid overbaking, as they will continue to firm up while cooling.
Can I make these Twix Cookie Cups in advance?
Absolutely! You can prepare the cookie cups and fill them with caramel sauce a day ahead. Just store them in an airtight container in the refrigerator and add the chocolate topping just before serving.
Is it necessary to use chopped peanuts in this recipe?
No, using chopped peanuts is optional. If you’re looking for a nut-free version or prefer not to include them, you can leave them out without compromising the overall taste of the cookie cups.
Can I use homemade caramel sauce instead of store-bought?
Yes, homemade caramel sauce is a great option and will add a personalized touch to your Twix Cookie Cups. Just ensure it’s at room temperature before filling the cookie cups for easier handling.
Do I need any special equipment to make these cookie cups?
A standard muffin tin is all you need to create these cookie cups. Make sure to grease it well to prevent sticking. If desired, you can also use silicone muffin molds for easy removal.
Twix Cookie Cups
Ingredients
Method
- Preheat the oven to 350°F (175°C).
- In a mixing bowl, cream together the softened butter, granulated sugar, and brown sugar until smooth.
- Add the egg and vanilla extract, and mix until fully incorporated.
- In a separate bowl, whisk together the flour, baking soda, and salt.
- Gradually add the dry ingredients to the wet ingredients, mixing until just combined.
- Scoop the cookie dough into a greased muffin tin, filling each cup about halfway.
- Bake in the preheated oven for 10-12 minutes, or until the edges are lightly golden.
- Remove from the oven and let cool for 5 minutes.
- Using the back of a spoon, press down the center of each cookie to create a cup shape.
- Fill each cookie cup with caramel sauce and sprinkle with chopped peanuts if desired.
- In a microwave-safe bowl, combine chocolate chips and vegetable oil. Microwave in 30-second intervals, stirring until smooth.
- Drizzle the melted chocolate over the filled cookie cups.
- Allow to cool completely before serving.