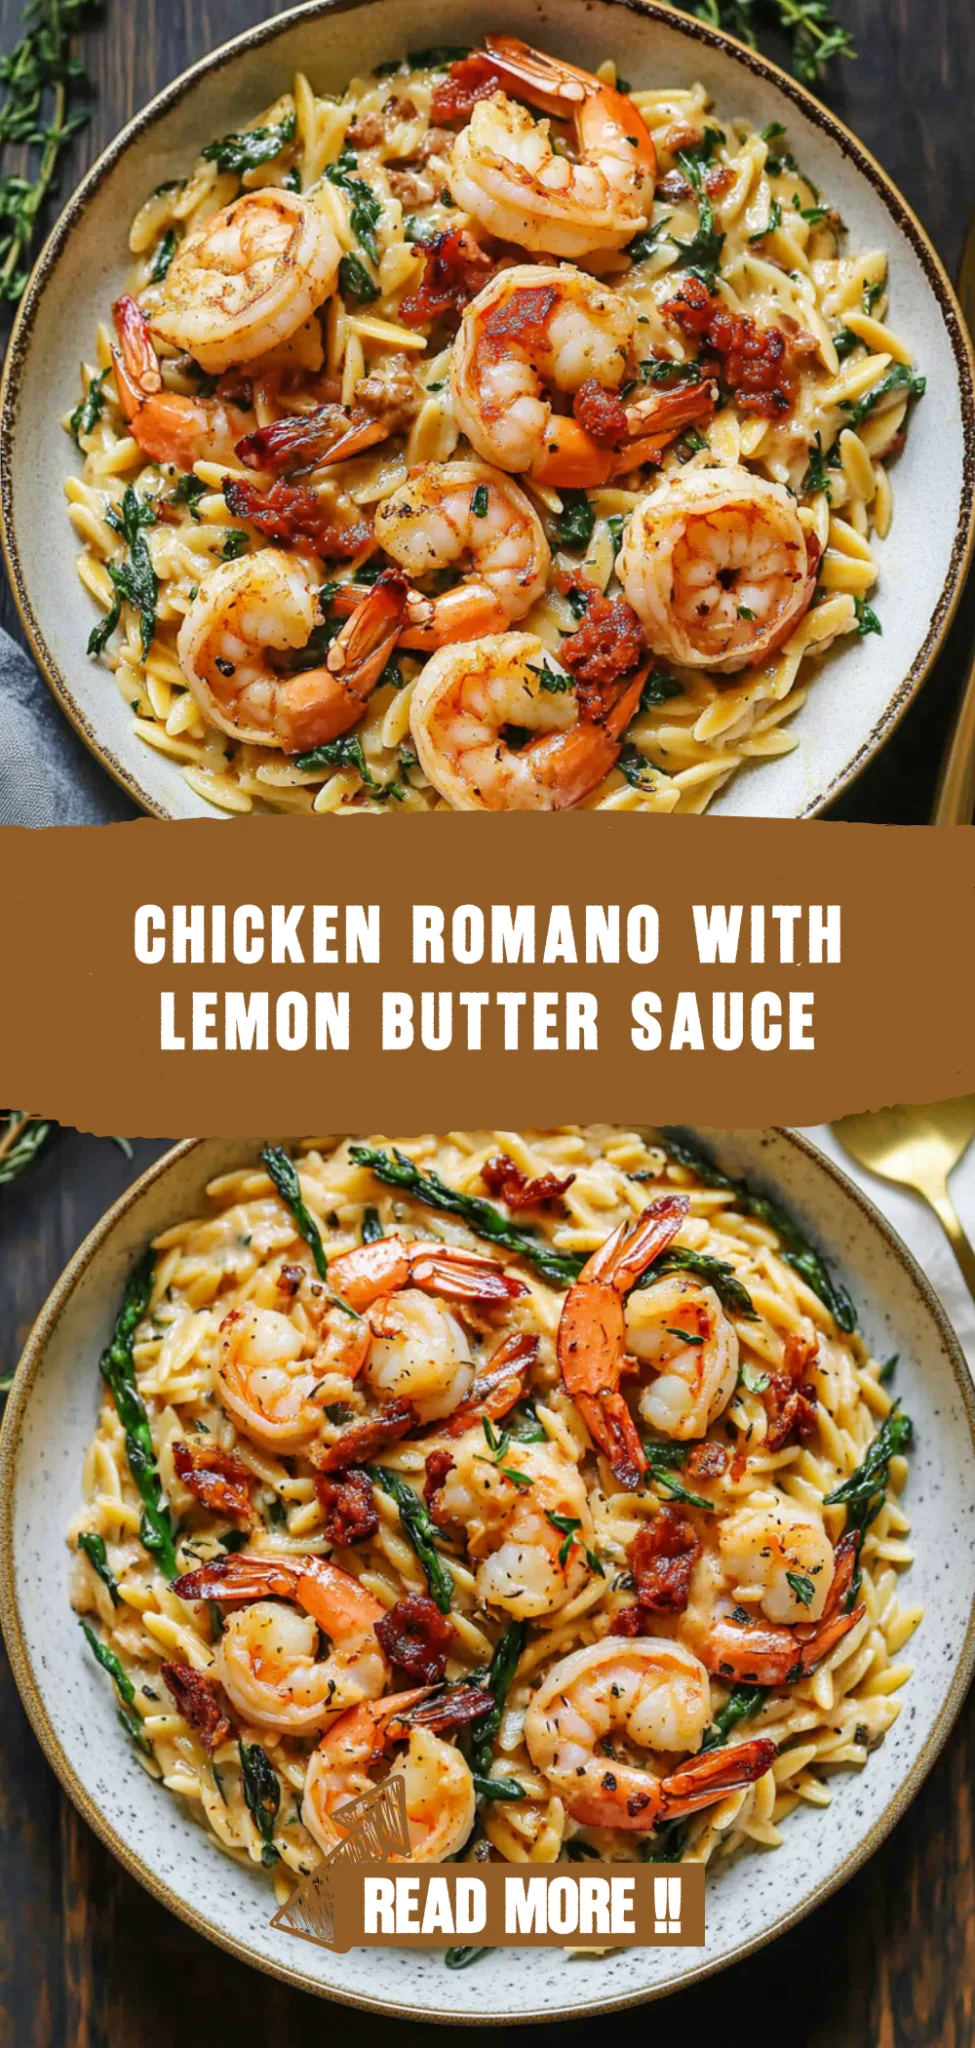
Chicken Romano: Crispy and Cheesy Delight Awaits
Crispy, Cheesy, and Irresistibly Delicious
I first stumbled upon Chicken Romano during a cozy Sunday dinner with friends, and I was instantly smitten. The moment I took my first bite, the crispy coating paired with the savory Romano cheese and herbs created a symphony of flavors that was simply unforgettable. Best of all, it’s incredibly easy to whip up, making it a go-to recipe whenever I need something tasty without spending hours in the kitchen.
What truly sets this dish apart is the heavenly aroma that wafts through the house as it cooks, drawing everyone in like moths to a flame. It’s perfect for impressing guests on a date night or simply indulging in a comforting meal after a long day. Everyone who tries it can’t help but smile and reach for seconds!
To elevate your Chicken Romano experience, serve it alongside a refreshing salad or your favorite pasta tossed in olive oil and garlic. A sprinkle of fresh herbs or a squeeze of lemon can add that extra zing. Trust me, once you taste this dish, you’ll be excited to share it with family and friends — they’ll be begging for your secret!
What are Chicken Romano?
Chicken Romano is a delightful dish that features boneless, skinless chicken breasts pounded to a tender thickness and coated in a flavorful blend of grated Romano cheese, seasoned breadcrumbs, and herbs. When cooked in olive oil, this dish achieves a perfectly crispy exterior while remaining juicy and tender inside, making each bite a savory delight. The combination of garlic powder and oregano adds an aromatic touch, enhancing the overall flavor profile. This recipe is not only delicious but also simple to prepare, often requiring just one pan for cooking, which makes cleanup a breeze—perfect for a quick weeknight meal or a special occasion!
Perfect For:
Weeknight Dinners: With its crispy texture and zesty Romano cheese, Chicken Romano comes together in about 30 minutes, making it an ideal choice for busy weeknights when you want something delicious without the fuss.
Budget-Friendly Indulgence: Enjoy restaurant-quality flavor at home without breaking the bank. This recipe uses simple ingredients that deliver a gourmet taste, perfect for those nights when you crave a little luxury on a budget.
Family Gatherings: Chicken Romano is easy to scale up for larger families or gatherings. Pair it with a side of pasta or salad, and you’ll have a hearty meal that pleases everyone’s palate.
Date Night Delight: Impress your significant other with this stunning dish that looks as good as it tastes. The delightful aroma and crispy finish make it a fantastic centerpiece for a romantic dinner at home.
Chicken Romano Ingredient List
For the Chicken
- 4 pieces boneless, skinless chicken breasts (pounded to 1/2 inch thickness) – This ensures even cooking and a tender bite in your Chicken Romano.
For the Coating
- 1 cup all-purpose flour – Use this to create a light base that helps the flavors adhere to the chicken.
- 2 large eggs (beaten) – These act as a binding agent, helping the coating stick to the chicken.
- 1 cup grated Romano cheese – Adds a delightful savory depth and a hint of nuttiness to your dish.
- 1 cup breadcrumbs (preferably Italian seasoned) – The breadcrumbs provide a crispy texture that is essential for an irresistible crust.
- 1 teaspoon garlic powder – A great way to infuse rich flavor without overwhelming the dish.
- 1 teaspoon dried oregano – Adds an aromatic touch that complements the cheese beautifully.
- 1 teaspoon salt – Enhances all the flavors in your Chicken Romano for a well-rounded taste.
- 1/2 teaspoon black pepper – A touch of spice that balances the richness of the cheese and chicken.
For Cooking
- 1/4 cup olive oil (for frying) – This is crucial for achieving that golden, crispy finish on your chicken.
Kitchen Equipment You’ll Need
- Large non-stick or cast-iron skillet
- Shallow dishes (for breading station)
- Meat mallet or rolling pin
- Baking sheet
- Tongs or a spatula
How to Make Chicken Romano
Step 1:
Preheat your oven to 400°F (200°C) so it’s ready when you finish cooking the chicken. This will help ensure that the chicken stays warm and finishes cooking perfectly after frying.
Step 2:
Take your boneless, skinless chicken breasts and pound them to an even thickness of about 1/2 inch. This step is crucial as it helps the chicken cook evenly, ensuring that every bite is juicy and tender.
Step 3:
Now, set up your breading station with three shallow dishes. In the first dish, place the all-purpose flour; in the second, beat the two large eggs; and in the third dish, mix together the grated Romano cheese, breadcrumbs, garlic powder, oregano, salt, and black pepper. Having everything organized will make the coating process smooth and efficient.
Step 4:
Dredge each chicken breast in the flour first, making sure it’s evenly coated. Then dip it into the beaten eggs before finally coating it with the cheesy breadcrumb mixture. Press down gently to ensure that the coating sticks well for that deliciously crispy texture.
Step 5:
In a large skillet, heat 1/4 cup of olive oil over medium heat until it shimmers slightly. This is the perfect temperature for frying; too hot and you risk burning the coating before the chicken cooks through.
Step 6:
Add your coated chicken breasts to the skillet carefully. Cook them for about 5-7 minutes on each side or until they turn a beautiful golden brown and are cooked through. You’ll know they’re done when they reach an internal temperature of 165°F (75°C) or when they feel fork-tender.
Step 7:
Once golden brown, transfer the chicken to a baking sheet and place it in your preheated oven for about 10 minutes. This final step will ensure that your chicken is thoroughly cooked while keeping that crispy exterior intact.
Step 8:
After ten minutes in the oven, remove the baking sheet and let the chicken rest for a few minutes. This resting period allows juices to redistribute throughout the meat for even more flavor.
Step 9:
Serve your Chicken Romano hot alongside pasta or a fresh salad for a delightful meal. Enjoy every bite of this crispy delight!
Tips
- Pound the chicken evenly: Ensuring your chicken breasts are uniformly pounded to 1/2 inch thickness promotes even cooking, preventing some parts from drying out while others remain undercooked.
- Use a non-stick skillet: A non-stick surface helps achieve a perfectly crispy coating on the Chicken Romano without sticking, making flipping easier and reducing the chance of tearing the breading.
- Monitor oil temperature: If the oil isn’t hot enough, the chicken will absorb excess oil and become greasy. Aim for a temperature around 350°F (175°C) to ensure a golden-brown crust without compromising texture.
- Let it rest post-cooking: Allowing the chicken to rest for a few minutes after baking helps retain its juices, resulting in a more flavorful and moist dish when served.
- Experiment with herbs: While oregano adds great flavor, consider mixing in other herbs like thyme or basil into your breadcrumb mixture for an extra layer of taste that complements the Romano cheese.
- Serve with lemon wedges: Adding fresh lemon wedges on the side brightens up the flavors of Chicken Romano; a squeeze of lemon just before eating enhances both taste and freshness.
Optional Ingredients
- Mozzarella cheese: Add a layer of gooey, melted mozzarella on top of the chicken just before serving for a delightful creaminess that complements the crispy coating.
- Red pepper flakes: A pinch of red pepper flakes can introduce a subtle heat that elevates the flavor profile; simply sprinkle some into the breadcrumb mixture before coating the chicken.
- Sautéed spinach: Incorporate sautéed spinach as a vibrant side or underneath the chicken for an earthy, nutritious touch that adds color and texture to your plate.
- Lemon zest: Grate fresh lemon zest over the finished dish to bring a bright and refreshing citrus note that cuts through the richness of the cheese and chicken.
- Balsamic glaze: Drizzle balsamic glaze over your plated Chicken Romano for a sweet and tangy finish that enhances both flavor and visual appeal.
What to Pair with Chicken Romano?
For a fresh and vibrant accompaniment, consider serving a light arugula salad dressed with a simple lemon vinaigrette. The peppery notes of arugula contrast beautifully with the savory, cheesy coating of the Chicken Romano, while the acidity from the lemon cuts through the richness of the dish, creating a balanced bite that refreshes the palate.
Steamed or roasted asparagus makes for an elegant side that pairs well with the crispy chicken. The tender crunch of asparagus complements the texture of the chicken, while its earthy flavor enhances the overall experience without overpowering it. A sprinkle of sea salt and a drizzle of olive oil can elevate this pairing further, harmonizing with the Italian herbs in your chicken.
If you’re in the mood for comfort food, creamy mashed potatoes serve as an excellent base for this delicious dish. Their buttery richness offers a delightful contrast to the crispy exterior of the chicken, making each mouthful satisfying and indulgent. Additionally, they can soak up any sauce you might want to add, creating a comforting completeness that rounds out your meal.
To finish off your dining experience on a sweet note, consider pairing Chicken Romano with a light panna cotta infused with vanilla and served with fresh berries. The creamy texture and subtle sweetness of panna cotta provide a gentle counterpoint to the savory flavors of the chicken, while the berries add a refreshing burst that cleanses your palate after each bite.
Variations and Substitutions
Pork Cutlets instead: Swap chicken for thinly sliced pork cutlets to create a deliciously rich alternative. The pork adds a slightly sweet and savory flavor that pairs wonderfully with the crispy coating, making it a great twist on the classic Chicken Romano.
Zucchini Noodles in place of pasta: For a low-carb option, serve your Chicken Romano atop spiralized zucchini noodles instead of traditional pasta. This substitution will lighten up the dish while adding a fresh crunch and subtle earthiness that complements the crispy chicken beautifully.
Almond Flour for gluten-free needs: Replace all-purpose flour with almond flour to cater to gluten-free diets. This swap not only makes the dish accessible for those with dietary restrictions but also imparts a nutty flavor and a slightly denser texture to the coating.
Parmesan Cheese variation: Switch out Romano cheese for grated Parmesan cheese for a sharper, more nutty flavor profile. This change can enhance the overall taste of the crust, creating an irresistible combination that still captures the essence of this Italian-inspired dish.
Spicy Seasoning Blend for heat: Add a teaspoon of crushed red pepper flakes or cayenne pepper to the breadcrumb mixture for those who enjoy a kick. This fiery twist will elevate your Chicken Romano, giving it an exciting zing that contrasts beautifully with the cheesy crust.
Herb Mix Upgrade: Experiment by using fresh herbs like basil and parsley instead of dried oregano in your breadcrumb mixture. Fresh herbs will add a vibrant aroma and brightness to the dish, making each bite burst with freshness and enhance its Mediterranean flair.
How to Store
To store Chicken Romano, allow the dish to cool completely before transferring it into an airtight container. Place parchment paper between layers if stacking pieces to prevent sticking, and refrigerate for up to 3 days. When reheating, use an oven preheated to 350°F (175°C) for about 15-20 minutes or until heated through, which helps restore its crispy texture.
Chicken Romano can be frozen, but note that the breading may become slightly softer upon thawing. To freeze, wrap individual portions tightly in plastic wrap and then place them in a freezer-safe container or bag. It will keep well for about 2-3 months. Thaw overnight in the refrigerator before reheating in the oven to maintain quality.
Frequently Asked Questions
Can I use a different type of cheese instead of Romano?
Yes, you can substitute Romano cheese with Parmesan or Pecorino cheese for a similar flavor profile. Just keep in mind that the taste might vary slightly, but both alternatives will still provide a delicious coating for your chicken.
How do I ensure my chicken stays tender and juicy?
To keep the chicken tender, make sure not to overcook it. Cooking the breasts for about 5-7 minutes on each side should be ideal, and finishing in the oven helps retain moisture while achieving a crispy exterior.
Can I prepare the chicken in advance and freeze it?
Absolutely! You can bread the chicken breasts ahead of time and freeze them before frying. Just make sure to wrap them tightly in plastic wrap or freezer bags, and when you’re ready to cook them, you can fry from frozen; just add a few extra minutes to the cooking time.
Is it possible to make this recipe gluten-free?
Yes, you can easily make Chicken Romano gluten-free by substituting regular flour and breadcrumbs with gluten-free alternatives. Look for certified gluten-free flour and breadcrumbs to ensure no cross-contamination occurs.
Can I bake the chicken instead of frying it?
You can bake the chicken if you prefer a healthier option. After breading, place the chicken on a greased baking sheet and bake at 400°F (200°C) for about 20-25 minutes, flipping halfway through, until golden brown and cooked through.
How can I add more flavor to the chicken coating?
For extra flavor, try adding some freshly chopped herbs like parsley or basil to the breadcrumb mixture. You could also incorporate additional spices such as paprika or cayenne pepper if you want a hint of heat.
What’s the best way to store leftovers?
Store any leftover Chicken Romano in an airtight container in the refrigerator for up to three days. To reheat, place it in a preheated oven at 350°F (175°C) until warmed through to maintain its crispiness.
Chicken Romano
Ingredients
Method
- Preheat the oven to 400°F (200°C).
- Pound the chicken breasts to an even thickness of about 1/2 inch.
- Set up a breading station with three shallow dishes: one with flour, one with beaten eggs, and one with a mixture of Romano cheese, breadcrumbs, garlic powder, oregano, salt, and pepper.
- Dredge each chicken breast in flour, dip in the egg, and then coat with the cheese and breadcrumb mixture.
- In a large skillet, heat olive oil over medium heat.
- Add the coated chicken breasts and cook for about 5-7 minutes on each side, or until golden brown and cooked through.
- Transfer the chicken to a baking sheet and finish in the preheated oven for 10 minutes.
- Remove from the oven and let rest for a few minutes before serving.
- Serve hot with pasta or a fresh salad.