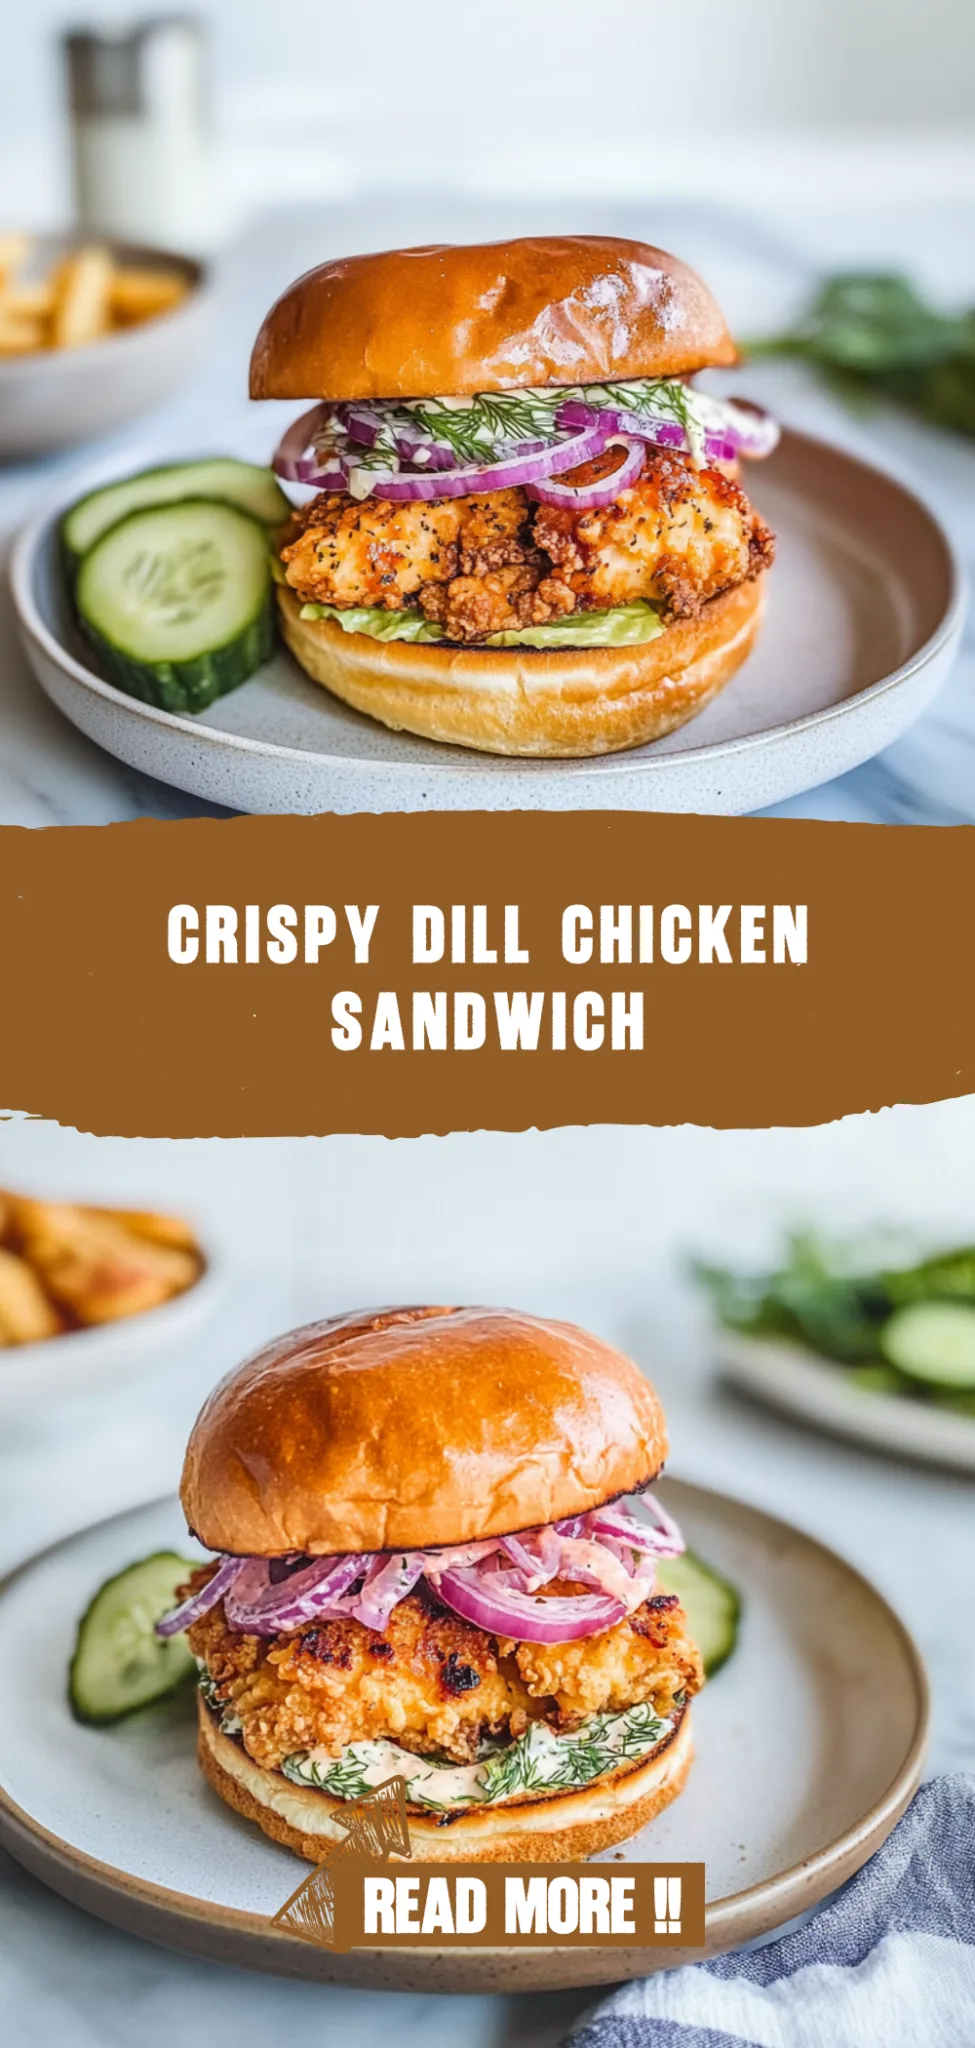
Crispy Dill Chicken Sandwich: Irresistibly Flavorful Delight
Crispy, Tangy, and Irresistibly Delicious
There’s something magical about whipping up a Crispy Dill Chicken Sandwich on a lazy Sunday afternoon. I remember the first time I made it; the crunch of the chicken paired with the bright notes of fresh dill left me grinning from ear to ear. It was simple yet bursting with flavor—exactly what I needed to lift my spirits.
This dish is special not just for its taste but for the memories it creates. The aroma of frying chicken fills the kitchen, drawing everyone in and prompting eager smiles and hungry stomachs. Perfect for cozy dinners or an intimate date night, this sandwich brings warmth and joy to any meal.
To elevate your experience, consider pairing your Crispy Dill Chicken Sandwich with a side of crispy fries or a refreshing coleslaw. You can even jazz it up with toppings like creamy avocado or tangy pickles for an extra zing. Trust me, once you take that first bite, you’ll feel like you’re indulging in a little piece of happiness!
What are Crispy Dill Chicken Sandwich?
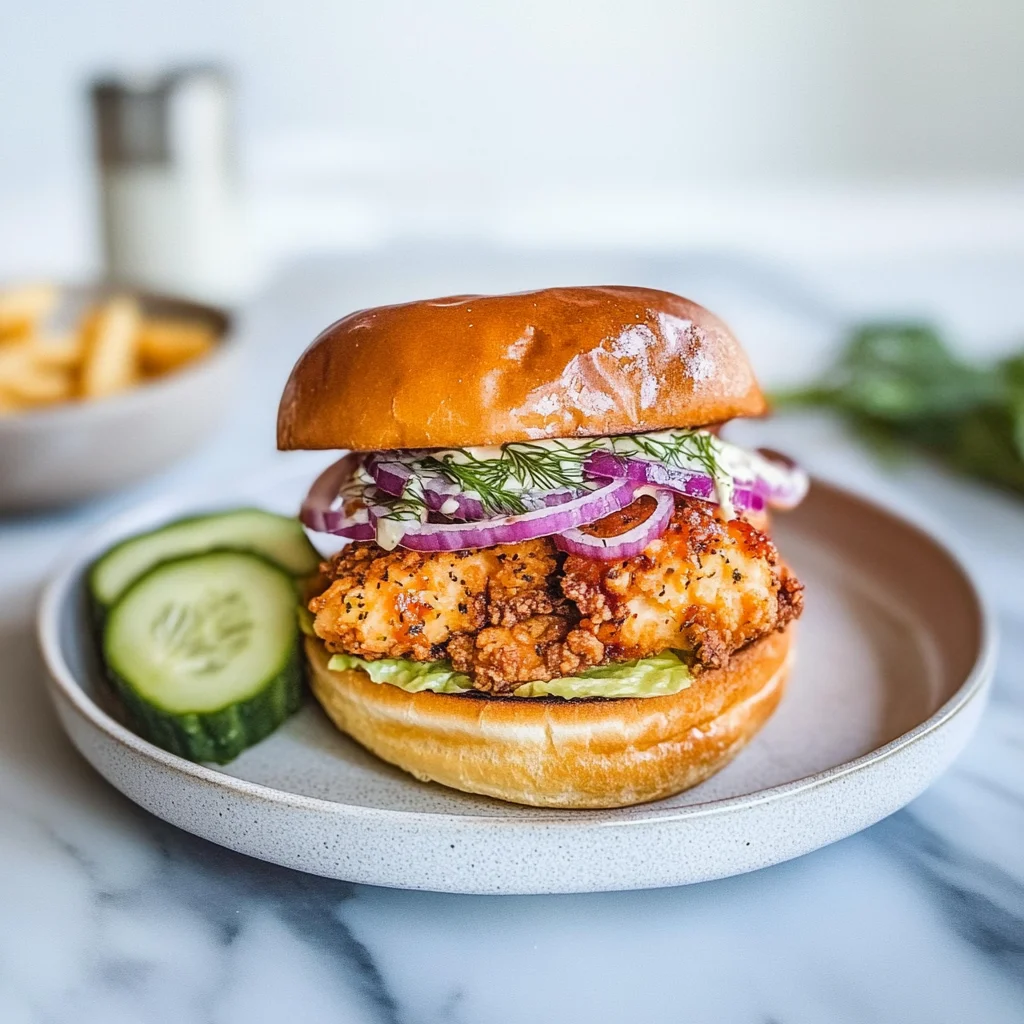
Crispy Dill Chicken Sandwich is a delightful twist on the classic chicken sandwich, featuring succulent boneless, skinless chicken breasts that are pounded to a tender thickness and coated in a crunchy breading made from flour, eggs, and panko breadcrumbs. The addition of dried dill gives it a fresh, aromatic flavor that pairs beautifully with the tangy mayonnaise sauce enhanced by fresh dill and a hint of lemon. Cooked to golden perfection in hot vegetable oil, this sandwich boasts a crispy exterior while remaining juicy and tender inside. Perfect for a quick meal, it comes together easily with minimal cleanup, making it an ideal choice for busy weeknights or casual gatherings with friends.
Perfect For:
Busy Weeknights: This Crispy Dill Chicken Sandwich comes together in under 30 minutes, making it the perfect solution for those hectic evenings when you want a delicious meal without spending hours in the kitchen.
Budget-Friendly Comfort: Enjoy the satisfying crunch and flavor of a gourmet sandwich at home without breaking the bank. This recipe delivers restaurant-quality taste with affordable ingredients.
Family Gatherings: With its crispy texture and zesty dill flavor, this sandwich is sure to please everyone at the table. It’s easy to scale up for family dinners or casual get-togethers, ensuring no one leaves hungry!
Casual Date Night: Impress your partner with this delightful twist on a classic chicken sandwich that feels special yet relaxed. Serve it with your favorite sides for a cozy night in that still feels like a treat.
Crispy Dill Chicken Sandwich Ingredients
For the Chicken
- 4 pieces boneless, skinless chicken breasts (pounded to 1/2 inch thickness) – This ensures even cooking and a tender bite in your Crispy Dill Chicken Sandwich.
For the Breading
- 1 cup all-purpose flour – Coats the chicken for a perfect crispy crust.
- 2 large eggs (beaten) – Acts as the binding agent to help the breadcrumbs adhere.
- 1 cup panko breadcrumbs – Provides that extra crunch that makes this sandwich irresistible.
- 1 teaspoon dried dill – Enhances flavor with a hint of freshness from this aromatic herb.
- 1 teaspoon salt – Essential for seasoning the chicken and bringing out its natural flavors.
- 1/2 teaspoon black pepper – Adds a subtle kick to balance the richness of the sandwich.
For the Sauce
- 1/2 cup mayonnaise – Creamy base for the sauce that complements the crispy chicken perfectly.
- 1 tablespoon fresh dill (chopped) – Freshens up the sauce and ties in with the chicken’s flavor.
- 1 teaspoon lemon juice – Brightens up the sauce with a tangy note that elevates every bite.
- 1/2 teaspoon garlic powder – Infuses a savory depth that rounds out the sauce beautifully.
For Sandwich Assembly
- 4 pieces burger buns (toasted) – Toasting adds an extra layer of texture and prevents sogginess.
- 1 cup leafy greens (such as lettuce or spinach) – Adds crunch and freshness, balancing the richness of the sandwich.
- 1 large tomato (sliced) – Juicy slices enhance flavor and provide a refreshing contrast to the crispy chicken.
For Frying
- 2 cups vegetable oil (for frying) – Ensures even frying for that golden-brown crust on your chicken breasts.
Kitchen Equipment You’ll Need
- Meat mallet
- Three mixing bowls
- Whisk or fork
- Large non-stick or cast-iron skillet
- Tongs or a spatula
- Paper towels
Step-by-Step Instructions
Step 1:
Begin by preparing the chicken. Take your boneless, skinless chicken breasts and use a meat mallet to pound them to an even thickness of about 1/2 inch. This ensures they cook evenly and become tender while frying. Once pounded, season both sides generously with salt and pepper.
Step 2:
Next, set up your breading station to make the coating process smooth. In one bowl, add your all-purpose flour for dredging. In a second bowl, beat the two large eggs until they’re well mixed. Finally, in a third bowl, combine the panko breadcrumbs with dried dill, salt, and black pepper to create a flavorful coating.
Step 3:
Now it’s time to bread the chicken! Start by dredging each piece of seasoned chicken in the flour, making sure to shake off any excess. This initial layer helps the egg wash stick better during the next step. Then dip each piece into the beaten eggs, allowing any extra egg to drip off before moving on.
Step 4:
Coat the chicken with the panko mixture, pressing firmly so that the breadcrumbs adhere well. You want a nice crunchy layer for that perfect crispy texture when fried. Make sure each piece is evenly coated for consistent crunchiness throughout.
Step 5:
Heat about 2 cups of vegetable oil in a frying pan over medium-high heat. You can test if the oil is ready by dropping in a small piece of bread or breadcrumb; it should sizzle immediately. Once hot enough, carefully place your breaded chicken into the oil, ensuring not to overcrowd the pan.
Step 6:
Fry each piece of chicken for about 5-7 minutes on one side until it’s golden brown and cooked through. You’ll know it’s ready to flip when it releases easily from the pan without sticking. After flipping, cook for another 5-7 minutes until both sides are beautifully golden and crispy.
Step 7:
Once cooked, remove the fried chicken from the oil and let them drain on paper towels. This will help absorb any excess oil while keeping your crispy coating intact. Your chicken should be golden brown and fork-tender at this point!
Step 8:
While your chicken is draining, let’s whip up that tangy sauce! In a small bowl, mix together half a cup of mayonnaise with chopped fresh dill, lemon juice, and garlic powder. Stir until everything is well combined and set it aside for later use.
Step 9:
Now it’s time to assemble your delicious sandwich! Start by spreading a generous amount of dill sauce on the bottom half of each toasted burger bun. This creamy sauce will add a burst of flavor that complements the crispy chicken perfectly.
Step 10:
Add one piece of your perfectly fried chicken on top of the sauce-covered bun. Next, pile on some leafy greens like lettuce or spinach along with slices of fresh tomato for an added crunch and freshness. Finally, place the top half of the bun over everything to complete your Crispy Dill Chicken Sandwich!
Tips
- Pound the chicken evenly: Ensuring the chicken breasts are pounded to a uniform 1/2 inch thickness promotes even cooking, so you avoid dry edges and undercooked centers.
- Use panko for extra crunch: Opting for panko breadcrumbs instead of regular breadcrumbs gives your chicken a delightful crispy texture that holds up beautifully against the sauce and toppings.
- Heat oil properly: Make sure your vegetable oil is hot enough before frying; if it’s too cool, the chicken will absorb excess oil and become greasy rather than crispy.
- Don’t overcrowd the pan: Frying only one or two pieces at a time allows the temperature of the oil to stay consistent, leading to perfectly golden-brown chicken instead of soggy, unevenly cooked pieces.
- Rest after frying: Allowing the fried chicken to rest on paper towels for a few minutes helps drain excess oil and keeps the coating intact when you assemble your sandwich.
- Customize your sauce: Feel free to adjust the lemon juice or garlic powder in the sauce according to your taste; this flexibility allows you to enhance flavors that suit your palate best.
- Toast those buns: Don’t skip toasting the burger buns! This step adds a lovely crunch and prevents them from becoming soggy when you layer on the dill sauce and toppings.
Optional Ingredients
- Pepper Jack cheese: Add a slice of this creamy, spicy cheese for an extra kick that melts beautifully over the crispy chicken, enhancing both flavor and richness.
- Sriracha sauce: Drizzle this tangy hot sauce on your sandwich for a burst of heat that will elevate the overall flavor profile and add a delightful kick to each bite.
- Avocado slices: Creamy avocado can bring a rich texture and healthy fats to your sandwich, making it even more satisfying. Simply layer the slices on top of the greens or chicken.
- Lemon zest: Grate some fresh lemon zest over the assembled sandwich for a vibrant and zesty brightness that complements the dill and cuts through the richness.
- Pickled red onions: These tangy, sweet onions add a crunchy texture and a pop of color, providing an exciting contrast that balances the flavors in your sandwich.
- Fresh arugula: Swap out leafy greens for peppery arugula to introduce a bold flavor that enhances the dish’s overall complexity while adding a nice crunch.
What to Pair with Crispy Dill Chicken Sandwich?
To complement the crispy, herb-infused notes of the Crispy Dill Chicken Sandwich, a fresh salad makes an excellent pairing. A cucumber and avocado salad drizzled with a light vinaigrette adds a refreshing crunch and creamy texture that balances the sandwich’s crispiness. The coolness of cucumber and richness of avocado also enhance the dill flavor, creating a harmonious dish that feels both light and satisfying.
For a heartier option, consider serving roasted garlic mashed potatoes alongside your sandwich. The creamy, buttery texture of the mashed potatoes provides a comforting contrast to the crispy chicken, while the roasted garlic adds a depth of flavor that beautifully complements the tangy sauce. This combination not only rounds out your meal but also brings warmth and indulgence to your dining experience.
A sparkling lemonade or a citrus-infused iced tea can elevate your meal further by providing a zesty counterpoint to the rich flavors in the sandwich. The bright acidity from these drinks enhances the dill and lemon notes of the sauce while cutting through the richness of the fried chicken. This refreshing sip will cleanse your palate, making each bite feel exciting and new.
Variations and Substitutions
Panko-Crusted Tofu: For a vegetarian twist, substitute the chicken with firm tofu. Press and slice it into thick slabs, then follow the same breading process. The result is a crispy, satisfying sandwich with a rich texture that allows the dill sauce to shine.
Spicy Chicken Sandwich: Add a kick by mixing 1-2 teaspoons of cayenne pepper or hot sauce into the beaten eggs before dipping the chicken. This variation delivers a fiery flavor that pairs wonderfully with the cool dill sauce, making each bite an exciting experience.
Gluten-Free Option: Swap the all-purpose flour and panko breadcrumbs for gluten-free alternatives like almond flour and gluten-free breadcrumbs. This variation keeps the crispy texture while accommodating gluten sensitivities, allowing everyone to enjoy this delicious sandwich.
Lemon-Herb Chicken: Marinate the chicken breasts in lemon juice, olive oil, and additional fresh herbs like parsley or basil before breading. This variation infuses the chicken with a vibrant flavor that complements the dill sauce beautifully, adding brightness to every bite.
BBQ Chicken Sandwich: Instead of frying, brush your chicken with your favorite barbecue sauce during the last few minutes of cooking on a grill or stovetop skillet. This creates a smoky and sweet flavor profile that pairs perfectly with fresh greens and tangy sauce for a delightful summer meal.
Crispy Shrimp Sandwich: Replace chicken with shrimp for a seafood twist. Coat large shrimp in the same breading mixture and fry until golden brown. The delicate crunch and briny flavor of shrimp work harmoniously with the dill sauce, creating an irresistible coastal-inspired dish.
Creamy Avocado Spread: For a richer sandwich experience, add sliced avocado or a creamy avocado spread under the dill sauce. The buttery texture of avocado enhances the overall mouthfeel while providing healthy fats that make this sandwich even more satisfying.
How to Store
To store your Crispy Dill Chicken Sandwich in the refrigerator, allow it to cool completely before placing it in an airtight container. The sandwich keeps well for up to 3 days. When reheating, use an oven or toaster oven at 350°F (175°C) for about 10 minutes to restore its crispiness, as microwaving may make the bread soggy.
This dish does not freeze well due to the potential texture changes in the breading and sauce. If you choose to freeze it, wrap individual sandwiches tightly in plastic wrap and then place them in a freezer-safe bag. They can be stored for up to 2 months; when ready to enjoy, thaw overnight in the refrigerator and reheat as mentioned above for best results.
Your Questions Answered
Can I use chicken thighs instead of chicken breasts for this recipe?
Yes, you can definitely use boneless, skinless chicken thighs. They will provide a juicier texture and more flavor compared to chicken breasts. Just ensure they are pounded to an even thickness for consistent cooking.
How do I keep the breading crispy after frying?
To maintain the crispiness of the breading, make sure to drain the fried chicken on paper towels immediately after cooking, allowing excess oil to drip off. Additionally, serve the sandwiches right away; if they sit too long, the steam can make the breading soggy.
Can I prepare the chicken in advance?
Absolutely! You can pound and bread the chicken ahead of time. Store the breaded chicken in the refrigerator for up to 24 hours before frying. Just make sure to cover it well to prevent any moisture loss.
Is it possible to make this sandwich gluten-free?
Yes, you can make this sandwich gluten-free by using a gluten-free flour blend and gluten-free panko breadcrumbs. This way, you can enjoy the same crispy texture without sacrificing flavor.
How can I tell when the chicken is fully cooked?
The best way to ensure your chicken is fully cooked is to use a meat thermometer; it should read 165°F (75°C) at its thickest point. If you don’t have one, cut into the thickest part of the chicken—there should be no pink juices or raw meat inside.
Can I bake this instead of frying?
While frying gives that signature crispy texture, you can bake them if preferred. Preheat your oven to 400°F (200°C), place the breaded chicken on a baking sheet lined with parchment paper, and bake for about 20-25 minutes until golden brown and cooked through.
How spicy is this recipe?
This Crispy Dill Chicken Sandwich is not spicy at all; it’s seasoned with salt, pepper, and dill for flavor without heat. If you prefer a kick, consider adding some cayenne pepper or hot sauce to your breading mix or sauce.
Crispy Dill Chicken Sandwich
Ingredients
Method
- Pound the chicken breasts to an even thickness of 1/2 inch using a meat mallet.
- Season the chicken with salt and pepper.
- In one bowl, place the flour. In a second bowl, beat the eggs. In a third bowl, combine panko breadcrumbs, dried dill, salt, and pepper.
- Dredge each chicken breast in flour, shaking off excess.
- Dip into the beaten eggs, then coat with the panko mixture, pressing to adhere.
- Heat vegetable oil in a frying pan over medium-high heat.
- Fry the breaded chicken for 5-7 minutes on each side or until golden brown and cooked through.
- Remove and drain on paper towels.
- In a small bowl, mix together mayonnaise, fresh dill, lemon juice, and garlic powder. Set aside.
- Spread the dill sauce on the bottom half of each toasted bun.
- Add a piece of fried chicken, top with leafy greens and tomato slices, and cover with the top half of the bun.