spooky mummy brownies: Fudgy and Fun for Halloween
Fudgy, Fun, and Frightfully Delicious
Last Halloween, I decided to whip up something extra special for my kids’ school party, and that’s when I discovered the magic of spooky mummy brownies. These fudgy delights turned out to be incredibly easy to make and absolutely packed with rich chocolate flavor. Watching them transform from simple brownies to cute little mummies was such a joy—and they disappeared faster than I could say “Boo!”
What makes these spooky mummy brownies truly special is the delightful aroma that fills your kitchen as they bake, making it feel like Halloween has arrived early. The moment I unveiled them, the kids’ faces lit up with excitement; it’s a treat that brings smiles all around, perfect for any Halloween gathering or cozy night in. Whether you’re entertaining little ghouls or indulging in a sweet moment to yourself, these brownies are sure to create lasting memories.
To elevate your spooky mummy brownies even further, consider pairing them with a scoop of vanilla ice cream or drizzling some caramel sauce on top—talk about indulgence! As you prepare this fun treat, just imagine the laughter and joy it will bring; it’s time to embrace the spirit of Halloween and get baking!
What are Spooky Mummy Brownies?
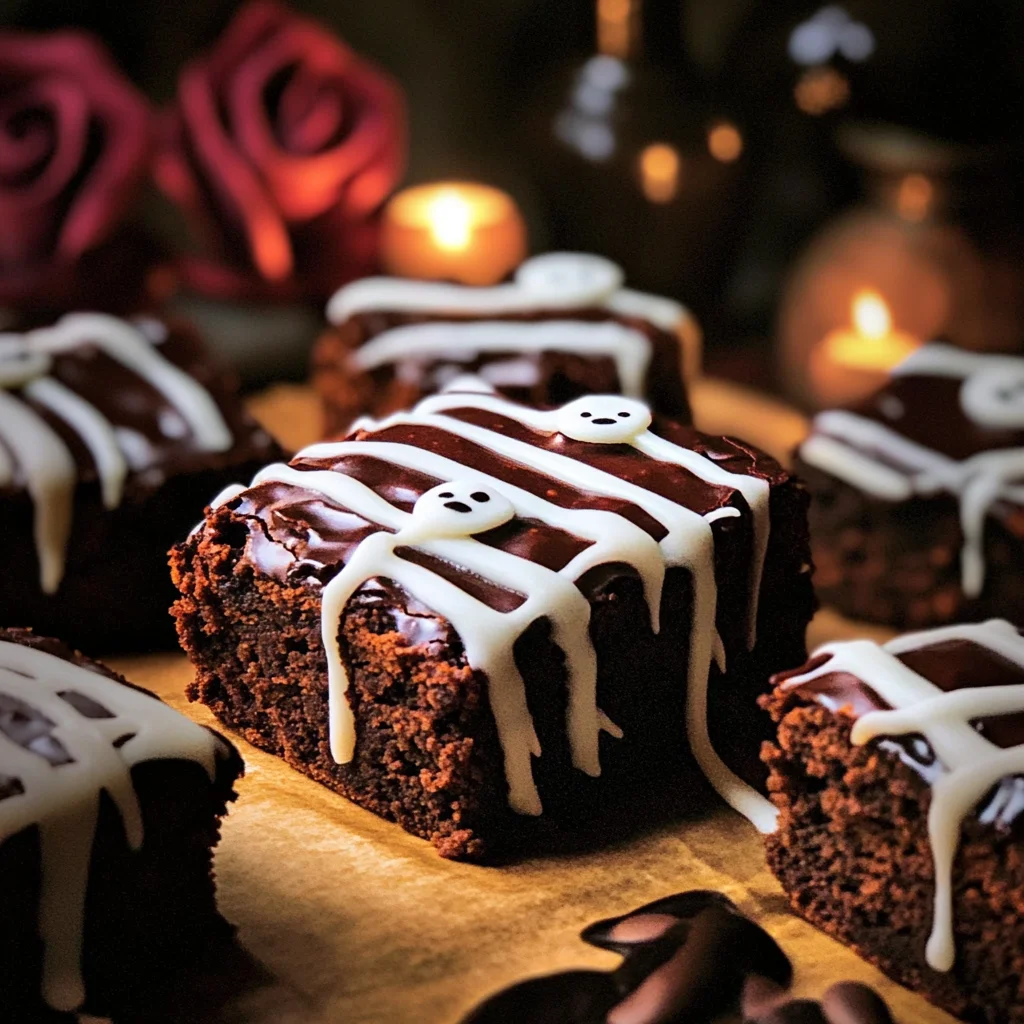
Spooky Mummy Brownies are a delightful Halloween treat that combines the rich, fudgy texture of classic brownies with playful, festive decorations. Made with a blend of melted unsalted butter, granulated and brown sugars, large eggs, and unsweetened cocoa powder, these brownies are moist and decadent with a slightly crispy top layer. Baked in the oven to achieve that perfect balance of chewy inside and crunchy outside, they’re then transformed into spooky mummies with melted white chocolate and candy eyes for an adorable finish. Best of all, this recipe is incredibly easy to make, requiring just one pan for minimal cleanup and maximum fun!
Perfect For:
Halloween Parties: These Spooky Mummy Brownies add a fun and festive touch to your Halloween gatherings, making them a hit with both kids and adults alike.
Family Baking Days: Enjoy quality time with loved ones as you decorate these fudgy brownies together, creating spooky mummies that everyone will love to eat.
Last-Minute Treats: With quick prep and bake times, these brownies are perfect for when you need a delicious dessert in a pinch or want to impress unexpected guests.
School Events: Send your little ones off with these fun and creative brownies for school parties; they’re sure to stand out and bring smiles to their classmates’ faces.
spooky mummy brownies Ingredients
For the Brownie Base
- 1 cup unsalted butter (melted) – This adds richness and moisture to your fudgy brownie base.
- 2 cups granulated sugar – Sweetens the brownies while helping to create that delightful chewy texture.
- 1 cup brown sugar (packed) – Brings a hint of caramel flavor and extra moisture for fudginess.
- 4 large eggs – Provides structure and helps bind all the ingredients together beautifully.
- 1 teaspoon vanilla extract – Enhances the overall flavor, making your brownies taste even more delicious.
- 1 cup all-purpose flour – The essential dry ingredient that gives the brownies their perfect structure.
- 1 cup unsweetened cocoa powder – Adds rich chocolate flavor, making these spooky mummy brownies a chocolate lover’s dream.
- 1 teaspoon baking powder – Helps the brownies rise slightly for a light and airy texture.
- 1 teaspoon salt – Balances the sweetness and enhances the chocolate flavor in the brownies.
For the Mummy Decoration
- 1 cup white chocolate chips (melted) – Creates a fun, creamy drizzle that mimics mummy wrappings on your brownies.
- 1 cup candy eyes (for decoration) – Adds a playful touch, bringing your spooky mummy brownies to life with personality!
Kitchen Equipment You’ll Need

- Baking pan
- Parchment paper
- Mixing bowls
- Whisk
- Rubber spatula
- Toothpick
- Piping bag
How to Make Spooky Mummy Brownies
Step 1:
Preheat your oven to 350°F (175°C) and get your baking pan ready by greasing it and lining it with parchment paper. This will ensure that your brownies come out easily once they’re baked.
Step 2:
In a mixing bowl, combine the melted butter with both granulated sugar and brown sugar. Mix these ingredients together until they are smooth and well blended, creating a rich base for your brownies.
Step 3:
Now, add the eggs to the mixture one at a time, making sure to mix well after each addition. This step is crucial for incorporating air into the batter, which helps achieve that fudgy texture we all love. Don’t forget to stir in the vanilla extract for added flavor!
Step 4:
In a separate bowl, whisk together the all-purpose flour, unsweetened cocoa powder, baking powder, and salt. This will help evenly distribute the dry ingredients throughout the brownie batter.
Step 5:
Gradually add the dry ingredient mixture to your wet mixture, stirring until just combined. Be careful not to overmix; we want those brownies to be fudgy and delicious!
Step 6:
Pour the brownie batter into your prepared baking pan and spread it evenly across the bottom. This ensures that they bake uniformly, giving you that perfect gooey center.
Step 7:
Bake in your preheated oven for about 25-30 minutes. Keep an eye on them! You’ll know they’re ready when a toothpick inserted in the center comes out with a few moist crumbs—just how we like our brownies!
Step 8:
Once baked, allow the brownies to cool completely in the pan. This will make cutting them into perfect rectangles much easier when you’re ready to create your spooky mummies.
Step 9:
After they’ve cooled down, cut the brownies into rectangles that will serve as your mummy bases. Get creative with sizing; you can make them small or large depending on how spooky you want them!
Step 10:
Next, melt the white chocolate chips in a microwave-safe bowl in 30-second intervals, stirring after each interval until smooth. This will give you a lovely drizzle for decorating.
Step 11:
Transfer that silky melted chocolate into a piping bag or even a zip-top bag with a corner snipped off. Drizzle it over your brownie rectangles in a crisscross pattern to mimic mummy wraps—it’s going to look so cute!
Step 12:
Now for the fun part! Place two candy eyes on each brownie while the chocolate is still warm so they stick nicely. These little guys will bring your mummies to life!
Step 13:
Finally, let the chocolate set before serving your Spooky Mummy Brownies. You might want to pop them in the fridge briefly if you’re eager, but patience will reward you with perfectly decorated treats!
Tips
- Use room temperature eggs: Eggs that are at room temperature incorporate better into the batter, leading to a smoother texture in the brownies and preventing them from becoming dense.
- Don’t overmix the batter: Mixing just until combined helps to retain the fudgy texture of the brownies. Overmixing can lead to tough brownies due to gluten development.
- Check for doneness carefully: A toothpick should come out with a few moist crumbs, not clean, as this indicates they are perfectly fudgy. Baking too long will result in dry brownies.
- Let brownies cool completely: Allowing the brownies to cool fully in the pan ensures they hold their shape when cut and makes decorating easier without smudging.
- Melt chocolate gently: Melting white chocolate slowly in short intervals prevents it from seizing or burning, ensuring a smooth drizzle that looks great on your mummies.
- Use a piping bag for decoration: Transferring melted chocolate to a piping bag allows for more control when drizzling, creating that spooky mummy wrap effect without mess.
Optional Ingredients
- Sea salt flakes: A sprinkle on top of the finished brownies adds a delightful contrast to the sweetness and enhances the chocolate flavor, making each bite irresistible.
- Cayenne pepper: Adding a pinch to the brownie batter introduces a subtle heat that balances the sweetness and creates an unexpected twist. Use sparingly to avoid overwhelming the chocolate.
- Chopped walnuts or pecans: These nuts bring a satisfying crunch and a nutty richness that complements the fudgy texture of the brownies. Fold them into the batter before baking for added depth.
- Orange zest: Incorporating this bright citrus note can elevate your brownies by adding a fresh burst of flavor that pairs wonderfully with the rich chocolate. Grate it finely and mix it into the batter.
- Caramel sauce: Drizzling warm caramel over your decorated mummies adds a luscious sweetness and an appealing glossy finish, making them even more decadent and visually stunning.
What to Pair with Spooky Mummy Brownies?
To create a delightful balance with the rich flavors of Spooky Mummy Brownies, consider serving a fresh arugula salad with sliced pears and walnuts. The peppery notes of arugula provide a refreshing contrast to the dense, fudgy brownies, while the sweet, juicy pears add a touch of lightness. The crunch of walnuts also enhances the texture experience, making each bite feel complete and satisfying against the creaminess of the melted white chocolate.
For a comforting side dish that complements the sweetness of your brownies, roasted sweet potatoes seasoned with cinnamon and a hint of maple syrup would be an excellent choice. The natural sweetness of the sweet potatoes harmonizes beautifully with the sugars in the brownies, while their soft texture creates a cozy pairing. This earthy side not only rounds out your meal but also adds warmth to your Halloween gathering.
If you’re looking for a drink to accompany these festive treats, consider serving a rich hot chocolate made with dark chocolate and topped with whipped cream. This indulgent beverage mirrors the deep cocoa flavor found in the brownies and enhances their decadent nature. The warmth of the drink creates a comforting atmosphere perfect for chilly October nights, inviting guests to linger over their spooky sweets while enjoying each other’s company.
Variations and Substitutions
Coconut oil instead of butter: Swap out the unsalted butter for an equal amount of melted coconut oil to create a subtle tropical flavor. This substitution will yield brownies that are moist and rich, with a hint of coconut aroma that enhances the overall taste.
Brown sugar for coconut sugar: Replace granulated sugar with coconut sugar while keeping the brown sugar in the recipe. This swap will provide a deeper caramel-like flavor and a slightly lower glycemic index, making your spooky mummies a bit more health-conscious!
Gluten-free flour blend: For a gluten-free option, substitute all-purpose flour with a 1:1 gluten-free flour blend. This variation will maintain the fudgy texture of the brownies while accommodating those with gluten sensitivities or celiac disease.
Dark chocolate chips instead of white chocolate: Use dark chocolate chips instead of white chocolate for drizzling to give your mummies a richer, more intense chocolate flavor. The contrast between the dark chocolate and candy eyes adds an extra touch of spookiness!
Vegan egg substitute: To make these brownies vegan, replace each egg with 1/4 cup of unsweetened applesauce or a flaxseed egg (1 tablespoon ground flaxseed mixed with 2.5 tablespoons water). This change will keep your brownies moist while fitting a plant-based diet.
Peppermint extract for vanilla: Add a twist to your mummy brownies by substituting vanilla extract with peppermint extract. This will give your brownies a refreshing minty flavor that pairs beautifully with the white chocolate drizzle—perfect for chilling up Halloween festivities!
Spicy chili powder: For those who enjoy heat, add a pinch of chili powder or cayenne pepper to the dry ingredients. This unexpected spice twist will bring warmth and depth to your brownies, creating an exciting contrast to their sweet frosting!
To store your Spooky Mummy Brownies, allow them to cool completely before transferring them to an airtight container. They can be kept in the refrigerator for up to a week. When you’re ready to enjoy them again, simply warm them in the microwave for about 10-15 seconds; this will help restore their fudgy texture.
These brownies do freeze well, although the white chocolate decoration may lose some of its original texture. To freeze, cut the brownies into individual portions and wrap each piece tightly in plastic wrap before placing them in a freezer-safe container or bag. They can be stored in the freezer for up to three months. To thaw, simply transfer them to the refrigerator overnight and reheat as desired.
Frequently Asked Questions
Can I use a different type of chocolate for the brownie base?
Yes, you can use semi-sweet or dark chocolate in place of unsweetened cocoa powder if you prefer a richer flavor. Just be mindful that it may alter the sweetness and texture slightly, so adjust the sugar accordingly.
How do I know when my brownies are done baking?
To check for doneness, insert a toothpick into the center of the brownies. It should come out with a few moist crumbs but not wet batter. If it comes out clean, they may be overbaked, so keep an eye on them during the last few minutes.
Can I make these brownies gluten-free?
Absolutely! To make gluten-free spooky mummy brownies, substitute the all-purpose flour with a 1: 1 gluten-free flour blend. Ensure your other ingredients are also gluten-free to maintain safety.
How should I store leftover brownies?
Store your leftover brownies in an airtight container at room temperature for up to 3 days. For longer freshness, you can refrigerate them for up to a week or freeze them for up to three months.
Can I decorate these brownies ahead of time?
Yes, you can prepare the brownie base and store it uncut for up to two days before decorating. Once decorated, it’s best to enjoy them within a couple of days, as the white chocolate may lose its texture.
Is there a way to make these brownies less sweet?
If you’d like your spooky mummy brownies to be less sweet, you can reduce both granulated and brown sugar by about 25%. This will still yield fudgy brownies while balancing the overall sweetness from the white chocolate decoration.
Can I use a different type of candy for decoration?
Certainly! While candy eyes give a fun Halloween touch, you can use small chocolate chips or even colored frosting if preferred. Just ensure whatever you choose complements the flavors of the brownie.
Spooky Mummy Brownies
Ingredients
Method
- Preheat the oven to 350°F (175°C). Grease and line a baking pan with parchment paper.
- In a mixing bowl, combine melted butter, granulated sugar, and brown sugar. Mix until smooth.
- Add eggs one at a time, mixing well after each addition. Stir in vanilla extract.
- In a separate bowl, whisk together flour, cocoa powder, baking powder, and salt.
- Gradually add the dry ingredients to the wet mixture, stirring until just combined.
- Pour the batter into the prepared baking pan and spread evenly.
- Bake for 25-30 minutes, or until a toothpick inserted comes out with a few moist crumbs.
- Allow the brownies to cool completely in the pan.
- Once cooled, cut the brownies into rectangles to form the mummies.
- Melt the white chocolate chips in the microwave in 30-second intervals, stirring until smooth.
- Transfer the melted chocolate to a piping bag and drizzle over the brownies in a crisscross pattern to resemble mummy wraps.
- Place two candy eyes on each brownie to complete the mummy look.
- Let the chocolate set before serving.